
Introduction
A broken headphone jack can truly interrupt your audio experience, leaving you without your favorite tunes or podcasts. If you’re experiencing a loose connection or complete silence, you need a quick solution. This guide is here to help you accurately diagnose and efficiently repair common problems with headphone jacks.
Identifying Common Headphone Jack Problems
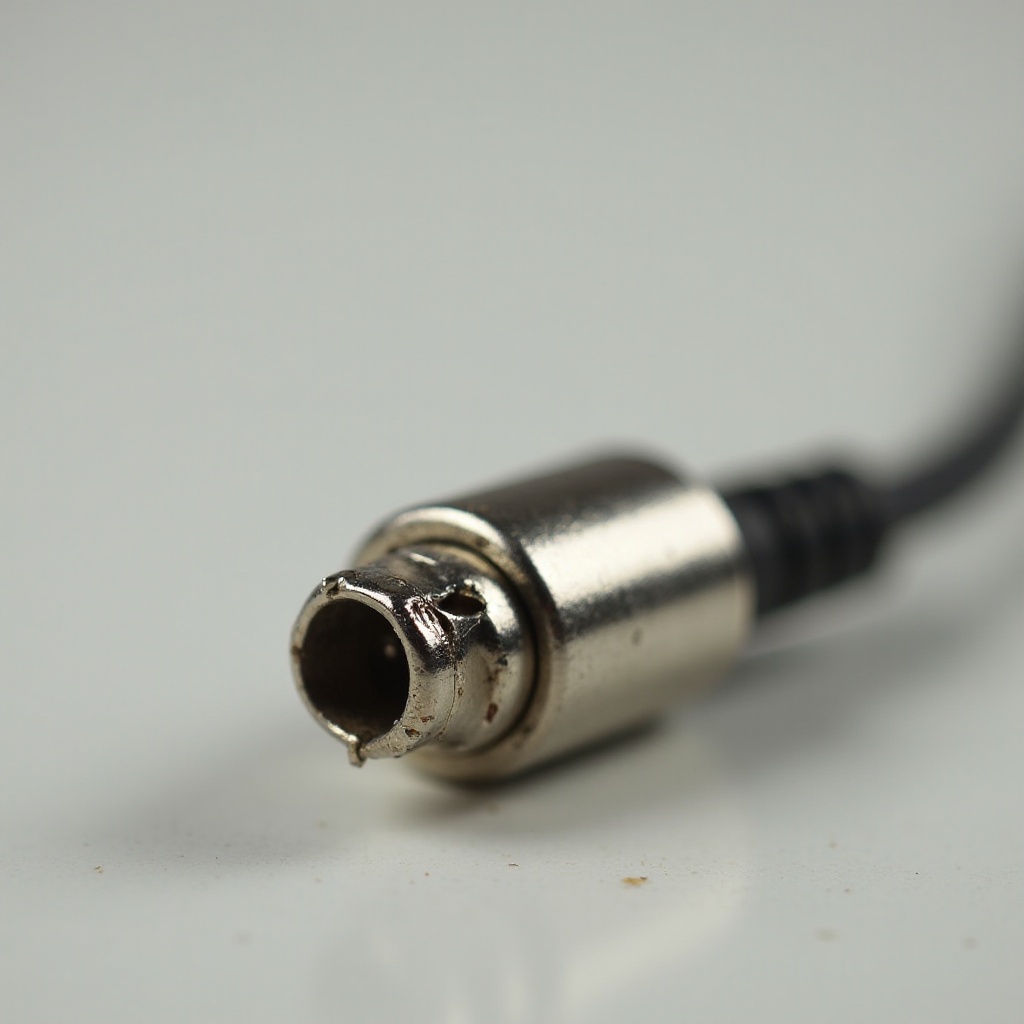
Before initiating repairs, understand the symptoms of a broken headphone jack. Typical issues include sound cutting out intermittently, crackling noises when moving the cord, or audio only coming from one earbud. Identifying these problems helps decide the correct approach for fixing them.
After diagnosing the issue, it’s important to gather necessary tools and prepare your workspace for the repair process.
Essential Tools and Preparations
To handle the repair efficiently, you will need:
– A small Phillips head screwdriver
– Soldering iron and solder
– Wire strippers
– Replacement jack (if required)
– Cleaning materials: soft cloth, isopropyl alcohol, cotton swabs
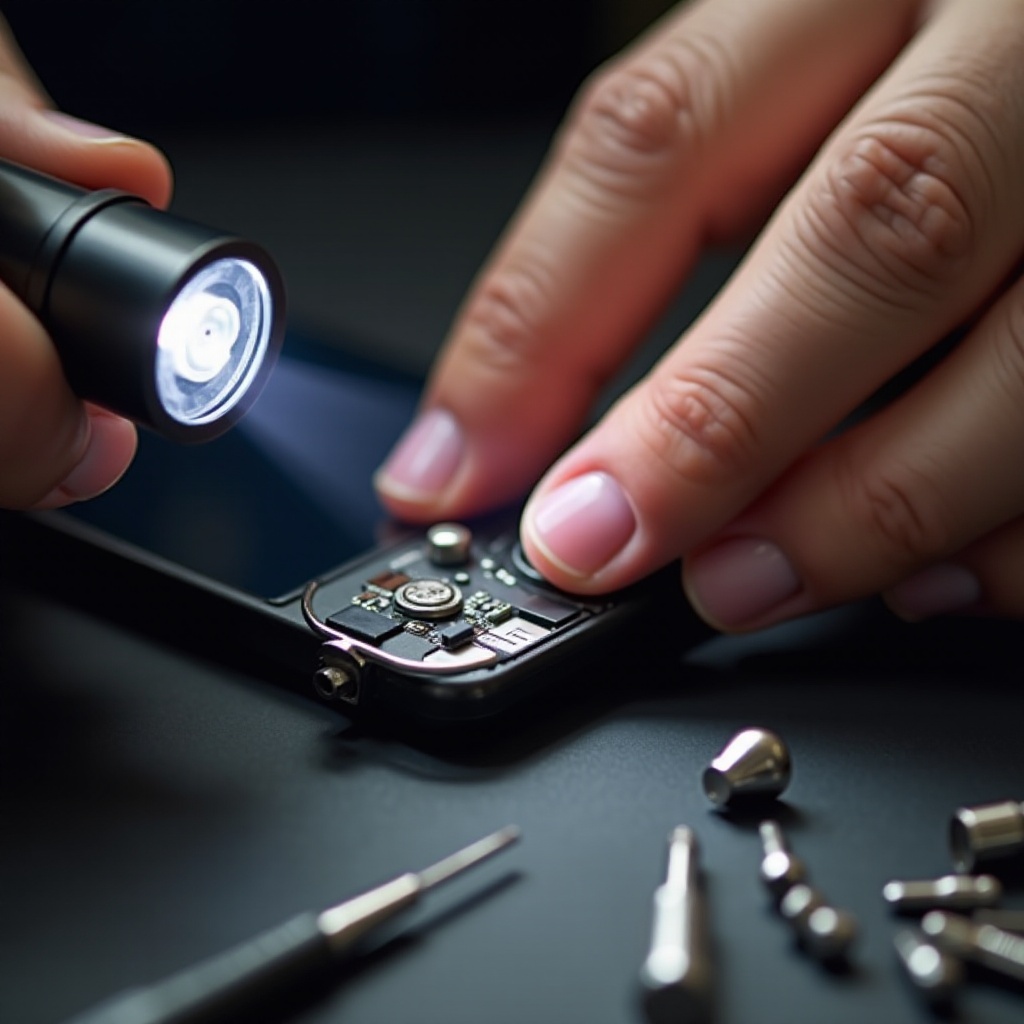
Prepare a well-lit work area with all tools accessible. This readiness will ensure a smoother fix. With preparations made, let’s delve into the procedure needed to repair the headphone jack.
Step-by-Step Repair Process
Repairing your headphone jack requires a thorough approach:
1. Inspecting the Headphones: Examine both the headphones and the jack closely. Check for visible damages like bent pins or frayed wires. Verify the fault lies with the jack by using different headphones with the same device.
-
Cleaning the Headphone Jack: Debris and dirt in the jack can cause connectivity issues. Carefully clean inside the jack using a cotton swab dipped in isopropyl alcohol. Apply light pressure to avoid compacting debris deeper.
-
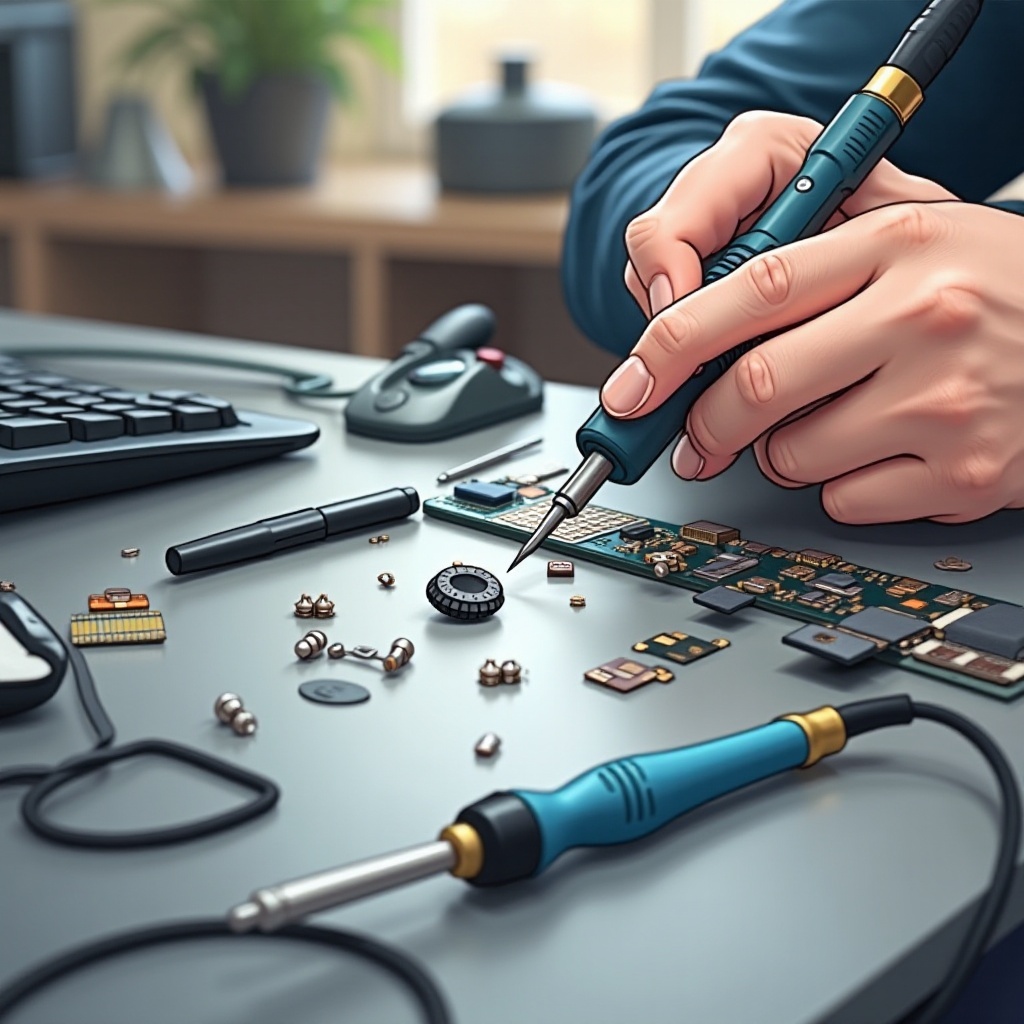
Replacing the Headphone Jack: If cleaning doesn’t solve the problem, replacement might be necessary. Disassemble the headphones using the screwdriver, locate where the jack is soldered, and carefully desolder it. Swap the old jack with a new one, ensuring proper connection alignment, then solder the new jack securely.
After replacing or cleaning the jack, thoroughly test your work to ensure the issue is resolved.
Testing the Repair
Once reassembled, perform these checks to confirm a successful repair:
– Connect the headphones to your device and play music.
– Wiggle the cable near the jack and along its length to test for sound stability.
– Ensure sound clarity from both earbuds without interruption.
If any issues remain, recheck the soldered connections or consider seeking expert help.
Preventive Measures for Future Care
To avoid future headphone jack problems, consider the following habits:
– Disconnect headphones by grasping the connector firmly, not the cable.
– Store headphones in a protective case to prevent cord damage.
– Clean the jack and headphone ports regularly to maintain quality.
These practices help prolong the life of your headphones and their jack.
When to Seek Professional Help
If you encounter complex issues that aren’t resolved by a DIY fix or if the problem persists after replacement, professional services might be necessary. Professionals have the expertise and equipment to fix complicated issues safely and efficiently.
Conclusion
Repairing a broken headphone jack is feasible with the right tools and guidance. By following these steps, most users can restore their headphones and enjoy uninterrupted audio. Always prioritize safety and know that professional assistance is available if needed.
Frequently Asked Questions
What are the most common signs of a broken headphone jack?
Common signs include intermittent sound, audio from only one earbud, and static noises. These indicate possible connectivity or mechanical issues with the jack.
Can I fix my headphone jack without any tools?
Basic issues like dirt or debris can sometimes be resolved with simple cleaning methods. Yet, replacing the jack usually requires specialized tools like a soldering iron.
How do I know if the problem is with the headphone jack or the device?
Testing your headphones on a different device can help. If they work correctly there, the problem likely lies with the original device’s headphone jack. Otherwise, the issue may be in the headphones themselves.