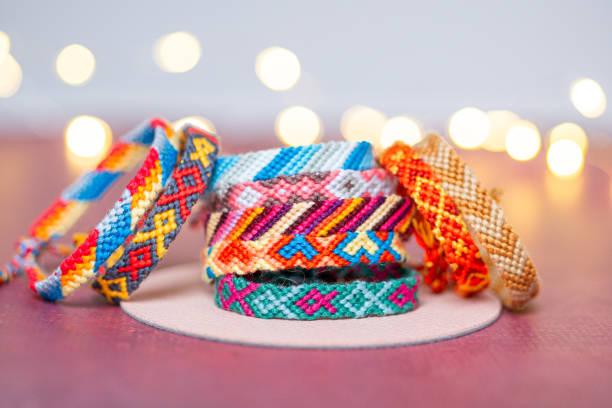
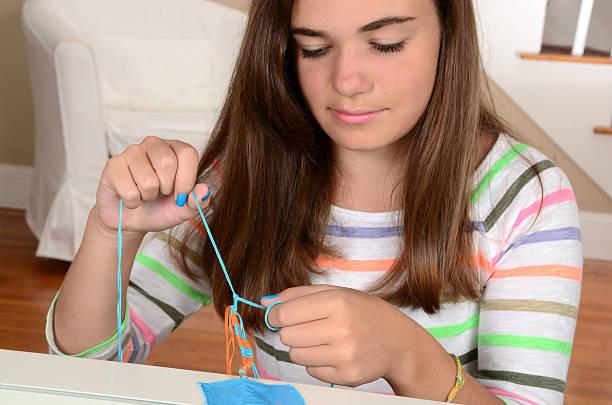
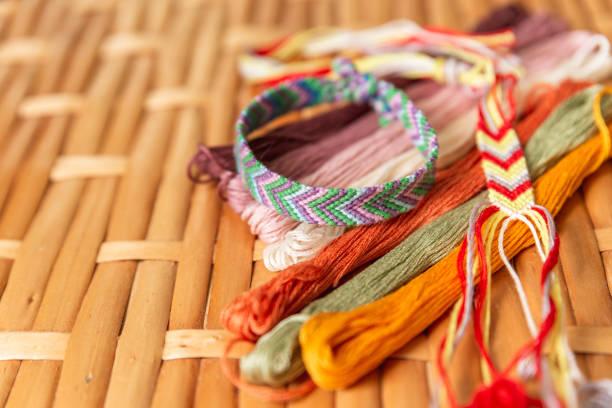
Have you ever wanted to create your own stunning, handcrafted woven bracelet but didn’t know where to start? Here’s the good news: learning how to weave a bracelet is simpler than it seems, and with the right guidance, anyone can do it. Whether you’re looking to craft a personalized gift or elevate your own accessory game, mastering the basics of bracelet weaving opens up endless creative possibilities. Ready to take the plunge into this exciting craft? Let’s start by exploring the materials you’ll need and the step-by-step process to make your very own woven bracelet.

Selecting the Right Materials for Your Woven Bracelet
Before you get started on your bracelet, choosing the correct materials is crucial. The materials not only determine how your bracelet looks but also how durable and comfortable it will be. So, what are the key factors to consider when picking your supplies?
1. String or Cord: The foundation of any woven bracelet is the string or cord you’ll use. There are various options, each with its own set of characteristics:
– Cotton Cord: Soft, easy to work with, and comes in a range of vibrant colors. It’s perfect for beginners and those who want a more traditional, comfortable bracelet.
– Nylon Thread: Sleek and durable, nylon is great for creating intricate designs. Its resistance to fraying makes it ideal for advanced patterns.
– Leather Cord: Want a rustic or boho feel? Leather gives your bracelet a sturdy, earthy quality. It’s not as flexible as cotton, but it lends a high-end look to your accessory.
– Waxed Cord: Slightly stiff but resistant to water and wear, waxed cord is a durable option that’s suitable for more advanced weaving techniques.
2. Beads and Embellishments: While some woven bracelets are simply string, adding beads, charms, or metal accents can enhance their aesthetic appeal. Here’s what to keep in mind:
– Glass or Crystal Beads: Add a touch of elegance to your design. Choose small, delicate beads for an intricate look or larger beads for a statement piece.
– Wooden Beads: These can add an earthy, natural vibe. Great for bohemian styles.
– Metal Accents: Think silver, gold, or copper charms that bring shine and polish to your bracelet. They can also serve as the focal point of your design.
3. Closure Options: A well-made bracelet needs a secure closure. Here are a few ideas:
– Button Closures: Simple to use and stylish, a button can add a charming finish.
– Clasps: Metal clasps provide a polished and professional appearance. They’re a little trickier to attach but worth the effort for a more finished bracelet.
– Adjustable Knots: Perfect for those who prefer a more casual style. Plus, adjustable knots make the bracelet one-size-fits-all.
With your materials in hand, you’re ready to learn how to weave a bracelet that matches your unique style!

How to Make a Woven Bracelet?
Let’s get down to the fun part: weaving your bracelet. Whether you’re a beginner or have some experience, follow this simple method to create your own beautiful woven accessory. We’ll cover a basic knotting pattern, which is a great starting point for anyone.
Step 1: Prepare Your Workspace
Make sure you have all your materials ready.
Cut your cord to the desired length, generally around 3 to 4 times longer than your wrist’s circumference. This will give you enough length to braid and knot.
Step 2: Anchor the Bracelet
Secure the end of your cords to a clipboard or flat surface using tape. This prevents the strings from slipping while you work. If you’re making a bracelet with multiple strings, tie them together at one end.
Step 3: Begin Knotting
Start with a basic square knot—one of the easiest knots to learn for bracelet weaving. Here’s how:
1. Take two strands (one in each hand) and cross the left string over the right one, creating a loop.
2. Pull the left string under the right, through the loop, and tighten.
3. Repeat the process, this time crossing the right string over the left.
Continue alternating these steps to create a row of knots. The square knot creates a neat, consistent pattern that’s ideal for beginners.
Step 4: Add Embellishments (Optional)
If you’re using beads, now’s the time to incorporate them. Thread the beads onto the center strands and continue knotting afterward. This will secure them in place while adding flair to your bracelet.
Step 5: Finish and Secure the Ends
Once your bracelet is the desired length, secure the ends with a knot or attach your chosen closure. Trim any excess string, and your bracelet is ready to wear or gift!
That’s it! You’ve just completed your first woven bracelet. But if you’re ready for more complex designs, the next section will dive into advanced weaving patterns.

Advanced Weaving Patterns for Creating Intricate Bracelets
As you grow more confident in your ability to weave bracelets, you’ll likely want to experiment with more complex patterns. Advanced designs offer endless opportunities to show off your creativity and craftsmanship.
Here are three advanced weaving techniques to try:
1. Chevron Pattern
The chevron pattern is one of the most popular and visually appealing designs for woven bracelets. It creates a striking “V” shape that repeats throughout the bracelet.
How to Create a Chevron Pattern:
1. Divide your cords into two halves. The number of cords should be even.
2. Starting from the outermost left cord, knot it diagonally across the remaining cords on the left half.
3. Repeat the process on the right side, crossing the cords diagonally to meet in the middle.
4. Tie a knot to merge the two sides at the center.
The result is a dynamic zigzag pattern that’s sure to catch the eye.
2. Diagonal Weave
A diagonal weave creates a sleek, slanted design and is an excellent next step once you’ve mastered the square knot.
Steps for a Diagonal Weave:
1. Start by dividing your cords into two sections.
2. Create knots starting from the top left, moving diagonally across each section of cord.
3. Alternate the direction of the knots to create an overlapping, woven appearance.
This pattern works well with bold colors and gives your bracelet a smooth, professional finish.
3. Double Wave Pattern
If you’re feeling adventurous, the double wave pattern is a beautiful, intricate design that can elevate your bracelet-making skills.
How to Weave a Double Wave:
1. This pattern requires multiple colors of cord. Lay them flat and group them by color.
2. Begin by making a half knot with two colors on one side, then repeat on the other.
3. Continue alternating half knots, crossing the colors back and forth to create an undulating wave effect.
This pattern is challenging but rewarding, creating a bracelet that stands out from simpler designs.
Conclusion
Crafting your own bracelet is an incredibly rewarding experience, and with practice, you’ll find that the possibilities are endless. By learning how to weave a bracelet, you’ve taken the first step toward mastering a craft that allows you to express your personal style. Whether you’re making a simple, beginner-friendly bracelet or exploring intricate, advanced designs, each bracelet becomes a unique work of art. So, gather your materials, follow the steps, and let your creativity shine. With dedication, you’ll soon be weaving stunning bracelets that are not only beautiful but also a reflection of your artistic flair.
FAQs
How long does it take to weave a bracelet?
Weaving a bracelet can take anywhere from 30 minutes to several hours, depending on the complexity of the design, thread type, and weaving technique used.
Can woven bracelets get wet?
Yes, woven bracelets can get wet, but it depends on the material. Cotton, nylon, and synthetic threads hold up well, though repeated exposure to water may weaken them over time.
What thread do you use for woven bracelets?
Common threads for woven bracelets include embroidery floss, cotton, nylon, or waxed cord, as they are durable, flexible, and come in a variety of colors.
