Want to learn how to make a kandi bracelet? You’re not just about to craft a piece of jewelry but become part of a colorful and meaningful tradition. Kandi bracelets have exploded in popularity among festival-goers, ravers, and crafters for their personal touch, DIY flair, and the vibrant culture they represent. Let’s dive into the world of kandi bracelets and discover how to make your first one. Ready to unleash your creativity?

The History and Culture Behind Kandi Bracelets
Kandi bracelets are more than jewelry; they’re woven into the rave and festival scenes, representing the PLUR philosophy: Peace, Love, Unity, and Respect. This mantra is embraced by ravers as a way of life. Originating in the underground rave culture of the 1990s, kandi emerged as a symbol of community in the rising EDM scene. Ravers began creating colorful bead bracelets to share camaraderie, exchanging them through a special handshake as a gesture of friendship and good vibes.
Beyond their vibrant appearance, kandi bracelets are a form of self-expression, reflecting the creator’s personality, memories, or favorite colors. Wearing kandi celebrates individuality while fostering connections with others who share a love for music, creativity, and fun.
Today, kandi has become a global symbol in the EDM and festival world, uniting people across cultures. As you create your own, remember you’re part of a joyful tradition that spreads positivity and connection.
Materials for Making Your First Kandi Bracelet
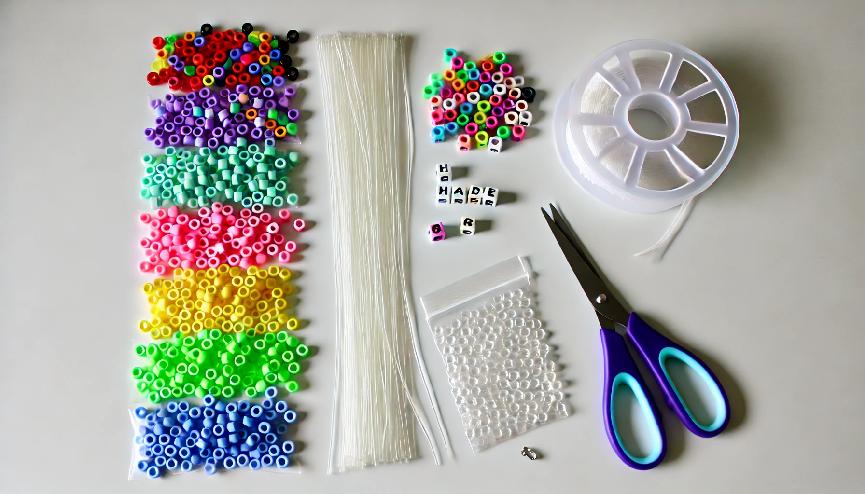
When it comes to making your first kandi bracelet, the good news is that it’s incredibly simple and budget-friendly! You’ll only need a few basic supplies that can be found at most craft stores or ordered online. Let’s break down what you need.
1. Plastic Pony Beads
These beads are the heart of any kandi bracelet. They come in an endless variety of colors, shapes, and finishes, from neon to glow-in-the-dark, translucent, metallic, and more. These beads are lightweight, easy to work with, and perfect for beginners.
2. Elastic String
A stretchy string or elastic cord is essential to hold your beads together and allow your bracelet to fit snugly on your wrist. Be sure to choose one with the right thickness (usually between 0.5mm to 1mm), so it’s durable enough to hold the beads while flexible enough to stretch. Clear elastic strings are popular choices, but you can also find them in various colors for added flair.
3. Scissors
You’ll need a sharp pair of scissors to cut your elastic cord to the right length. A clean cut is crucial to make sure your bracelet looks neat and polished.
4. Optional Extras
If you want to personalize your bracelet even more, consider adding:
Letter Beads: Spell out your name, a special word, or a message.
Charms: Tiny charms add character and make your bracelet stand out.
Glow-in-the-Dark Beads: These give an extra wow factor during night festivals.
With these materials in hand, you’re ready to bring your bracelet to life.

Step-by-Step Tutorial: Crafting a Kandi Bracelet
Now that you have your materials ready, let’s walk through the steps to create your first kandi bracelet. It’s a straightforward process that allows plenty of room for creativity, so don’t be afraid to experiment with colors and designs.
Step 1: Measure Your String
Start by cutting a piece of elastic string. A good rule of thumb is to measure around your wrist and add an extra 2-3 inches to ensure there’s enough room for tying knots. For most adults, cutting a 12-inch string should suffice.
Step 2: Tie a Temporary Knot
Before you start adding beads, tie a temporary knot at one end of the string to prevent them from slipping off as you work. You can also use a bead stopper if you prefer. Leave about an inch of string at the end to make it easier when you tie your final knot.
Step 3: String Your Beads
This is where the fun begins! Start threading your beads onto the string, following your chosen color pattern or random design. You can alternate colors, create stripes, or even use letter beads to spell out words that hold meaning for you. Let your imagination run wild.
Step 4: Check the Length
Once you’ve strung enough beads, hold the bracelet around your wrist to check the fit. You want it to be snug but not too tight. Adjust the number of beads as necessary.
Step 5: Tie the Knot
After you’re satisfied with the design, it’s time to tie your knot. Remove the temporary knot and tie the two ends of the string together using a secure double or triple knot. Make sure it’s tight, as this will prevent the bracelet from unraveling.
Step 6: Trim the Excess
Use your scissors to trim the excess string, leaving about half an inch. If you want, you can dab a small amount of clear nail polish or glue on the knot for extra security.
Step 7: Wear and Share
Your kandi bracelet is now ready! Wear it with pride or trade it with a friend to spread the positive vibes.
How Do You Clean a Kandi Bracelet?
After crafting your beautiful kandi bracelet, you’ll want to keep it looking as vibrant as the day you made it. Whether you’re wearing it to a festival or every day, kandi bracelets can accumulate dirt, sweat, and grime over time. The good news is that cleaning them is simple and takes just a few minutes. Here’s how to do it right without damaging your handiwork:
1. Gentle Hand Wash
Use a mild soap and warm water to gently clean the beads. Avoid soaking the elastic string for too long, as this could weaken the material over time. A quick rinse should be enough to remove any dirt or oils.
2. Pat Dry
After cleaning, pat your bracelet dry with a soft towel. Be sure not to wring or stretch it, as this could damage the elastic. Allow it to air dry completely before wearing it again.

3. Avoid Harsh Chemicals
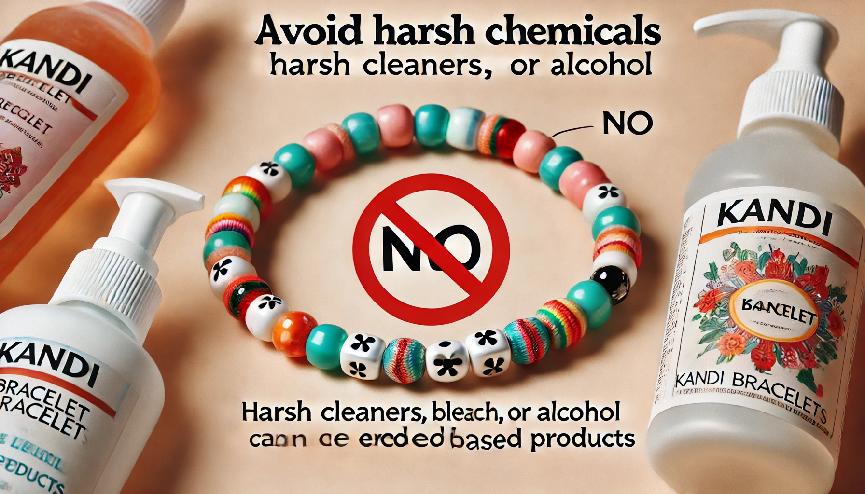
Never use harsh cleaners, bleach, or alcohol-based products on your kandi bracelet. These can erode the beads’ finish and weaken the elastic, reducing the bracelet’s lifespan.
By following these simple steps, your kandi bracelet will remain vibrant and durable, ready for many more events and adventures.
Conclusion
Learning how to make a kandi bracelet is more than just a fun craft activity. It’s an invitation to be part of a creative, inclusive community that values self-expression and connection. From choosing your beads to sharing your creation with others, each step brings a sense of joy and fulfillment. Now that you know the history, materials, and process, it’s time to start crafting your own! Why not make a bracelet today and share it with someone special? Embrace the vibrant world of kandi, one bead at a time!
FAQs
How long should I make a Kandi bracelet?
The length of a Kandi bracelet typically ranges from 6.5 to 7.5 inches (16.5-19 cm) to fit most wrists. You can measure your wrist and add a bit of extra length for comfort and stretch.
How can I make my Kandi bracelets more durable?
To make your Kandi bracelets more durable, use strong elastic or stretchy cord, knot securely, and consider reinforcing knots with glue. Avoid overstretching while wearing.
Can Kandi bracelets get wet?
Kandi bracelets can get wet, but prolonged exposure to water can weaken the elastic cord and fade the beads. It’s best to avoid submerging them to extend their lifespan.
