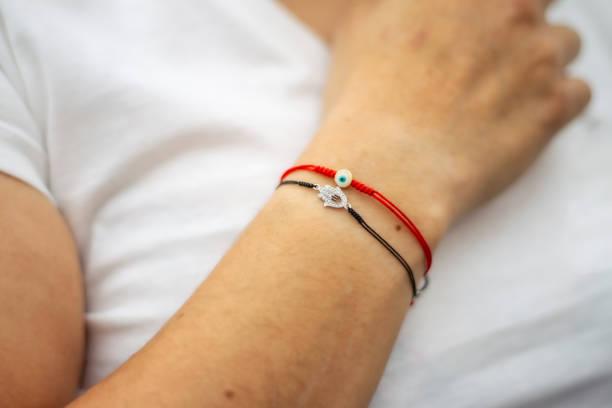
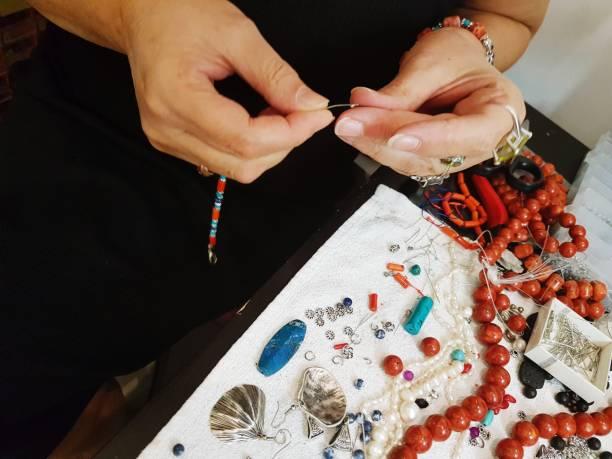
Creating a Kabbalah bracelet is more than just a fun DIY project; it’s a meaningful journey into spirituality, protection, and personal expression. If you’ve ever wondered how to make a Kabbalah bracelet, you’re in the right place. In this guide, we’ll show you exactly how to craft this powerful accessory, while also sharing its rich history, significance, and the special rules for wearing it.

The Significance of the Kabbalah Bracelet
The Kabbalah bracelet is more than just jewelry; it symbolizes protection and spiritual defense. Rooted in Jewish mysticism, it’s believed to shield against the “Evil Eye”—negative energy or jealousy. The most common version, a red string worn on the left wrist, represents receiving spiritual energy and enhances the wearer’s connection to divine wisdom. Associated with strength and life force, the red color amplifies the bracelet’s protective power. Whether for spiritual reasons or its symbolic value, creating and wearing a Kabbalah bracelet offers a meaningful experience beyond its appearance.
Origins of the Kabbalah Bracelet
The Kabbalah bracelet’s significance traces back to ancient Jewish customs, where red threads were wrapped around Rachel’s Tomb in Israel. Rachel, a matriarch of Judaism, is believed to provide protective energy through the string. This practice spread through Kabbalah, a mystical branch of Judaism exploring the Torah’s deeper meanings. Today, the bracelet transcends religious boundaries, appealing to diverse spiritual backgrounds. Its core symbolism remains: attracting positivity, love, and divine protection, with the simple red string holding deep historical and spiritual meaning.

Materials and Preparation: What You Need to Begin
Clear Space for Meditation (Optional): Many people find it helpful to create a peaceful environment while making their bracelet, as the process itself can be a meditative and spiritual experience.
Once you have everything ready, you’re prepared to start crafting. But before we get into the steps, it’s important to approach this project with intention. Crafting your Kabbalah bracelet with positive thoughts and intentions can enhance its spiritual power.
Step-by-Step Instructions for Crafting a Kabbalah Bracelet
Now for the fun part—let’s learn how to make a Kabbalah bracelet! Follow these simple steps, and you’ll have a personalized, spiritual bracelet in no time.
Step 1: Measure Your Wrist
Start by measuring your wrist. Wrap the red string around your wrist, ensuring it’s not too tight or too loose. Once you’ve found a comfortable fit, cut the string, leaving about 4-6 inches of extra length on both ends for tying the knots.
Step 2: Secure the String
Using tape or a pin, secure one end of the string to a flat surface. This will keep the string in place while you work on tying the knots. Make sure the surface is clean and that you’re comfortable, as this process requires some focus.
Step 3: Set Your Intentions
Before tying the knots, take a moment to meditate or focus on your intentions. Think about what you hope to manifest or protect yourself from while wearing the bracelet. This could be anything from warding off negativity to welcoming love and positivity into your life. Visualize these intentions clearly as you begin tying.
Step 4: Tie Seven Knots
Traditionally, Kabbalah bracelets feature seven knots. Each knot represents a specific blessing or wish. Start by tying the first knot near one end of the string. As you tighten the knot, focus on your intention for this knot—such as protection, strength, or love.
Continue tying six more knots, taking your time with each one. As you work, repeat your intentions, allowing the process to become a mindful ritual.
Step 5: Add Beads or Charms (Optional)
If you’ve chosen to incorporate beads or charms, now is the time to add them. You can slide them onto the string between the knots or at the ends of the bracelet. Each bead or charm can represent an additional blessing or protective force.
Step 6: Tie the Ends Securely
Once all seven knots are tied, and any beads or charms are in place, it’s time to secure the bracelet. You can tie the ends of the string together in a tight knot, ensuring the bracelet will stay secure on your wrist.
If you want a more adjustable bracelet, consider tying a sliding knot that allows the bracelet to be loosened or tightened as needed.
Step 7: Wear It with Purpose
Now that your bracelet is complete, it’s time to wear it! Remember that the Kabbalah bracelet is traditionally worn on the left wrist, which is considered the side through which we receive energy.
Rules of Wearing Kabbalah Bracelets
There are a few important guidelines to follow when wearing your Kabbalah bracelet to ensure that it works effectively:
1. Wear It on Your Left Wrist: According to Kabbalah tradition, the left side of your body is the receiving side. Wearing the bracelet on your left wrist helps you absorb its protective and positive energy.
2. Don’t Remove It: Kabbalah bracelets are meant to be worn continuously. It is believed that removing the bracelet diminishes its protective powers. You should only take it off when it falls off naturally.
3. Avoid Negative Thoughts: While wearing your bracelet, it’s essential to maintain a positive mindset. The bracelet is designed to attract positive energy, and negative thoughts or emotions can weaken its effectiveness.
4. Wear It with Intention: Every time you look at or touch your bracelet, take a moment to remind yourself of the intentions you set while making it. This mindfulness will keep its energy strong.
5. Respect Its Spiritual Roots: Even if you’re not practicing Kabbalah, it’s important to respect the bracelet’s cultural and spiritual origins. By acknowledging its significance, you can wear it with deeper meaning and connection.
Conclusion
Learning how to make a Kabbalah bracelet is a beautiful way to blend creativity, spirituality, and fashion. Whether you’re crafting it for protection, positive energy, or as a stylish accessory, the bracelet becomes a part of your personal journey. With just a red string, some simple materials, and clear intentions, you can create something that’s both meaningful and visually appealing.
Now that you know how to make a Kabbalah bracelet, why not create one today and experience the powerful energy it can bring into your life?
FAQs
What wrist do I wear a Kabbalah bracelet on?
Traditionally, a Kabbalah bracelet is worn on the left wrist, as it is considered the receiving side of the body and soul, believed to ward off negative energy and attract protection.
Can I take off my Kabbalah bracelet?
The Kabbalah bracelet should ideally remain on until it falls off naturally, as it’s believed to protect as long as it stays intact. Removing it intentionally may be seen as breaking its protective energy.
Can I make a Kabbalah bracelet for someone else as a gift?
Yes, you can make a Kabbalah bracelet for someone as a gift, and it is often seen as a thoughtful gesture. It should be made with positive intentions, typically with the hope of offering protection and blessings to the recipient.
