Introduction
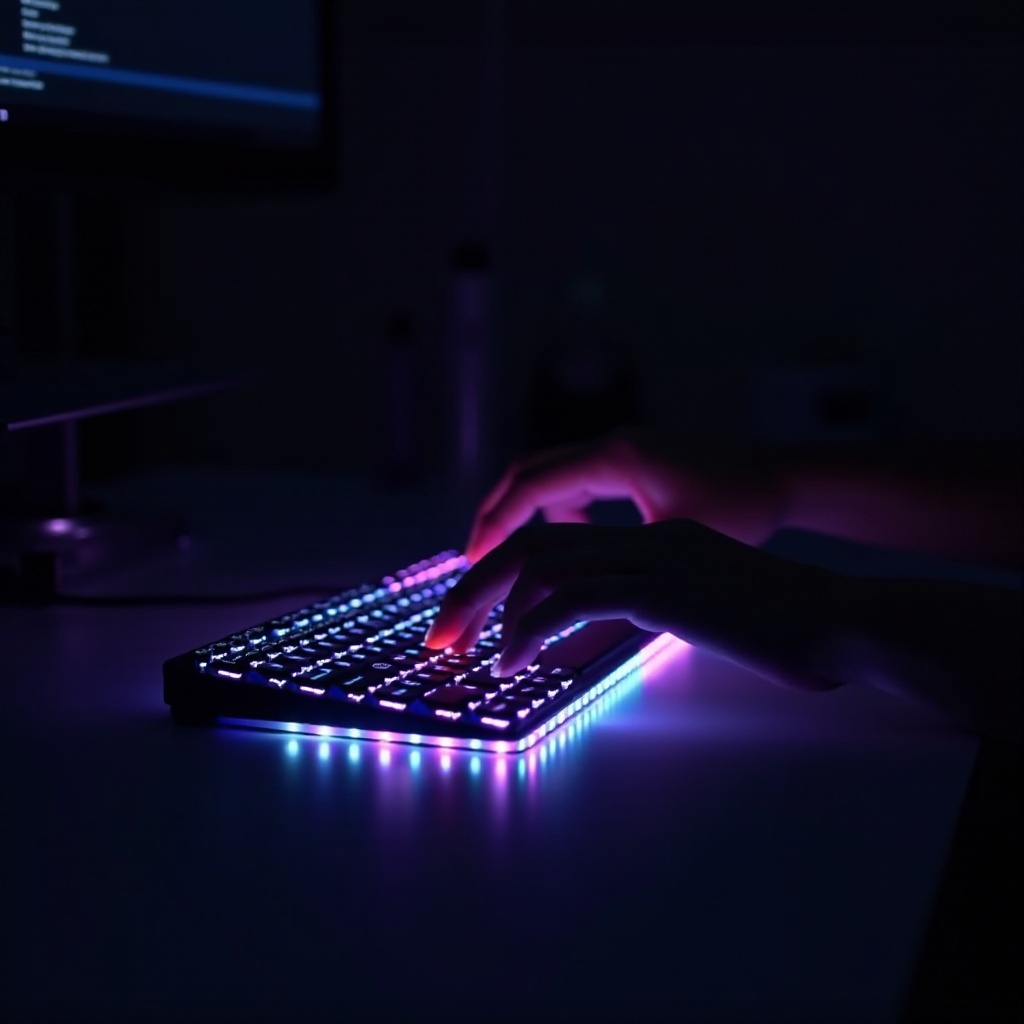
Adding light to your keyboard can revolutionize your typing experience. Whether you work in a dim environment or just fancy a visually appealing setup, keyboard backlighting offers both functional and aesthetic benefits. In this comprehensive guide, we delve into the numerous advantages of keyboard backlighting, the various types available, essential preparation steps, and the methods to install lighting successfully. Moreover, we’ll cover customization options and solve common issues that might arise. Get ready to transform your typing setup into an illuminated masterpiece.

Benefits of Keyboard Backlighting
Investing in backlighting for your keyboard comes with a multitude of advantages:
-
Enhanced Visibility: Improved visibility in low light conditions is a primary benefit, reducing eye strain and errors, thereby boosting your productivity.
-
Stylish Aesthetics: Backlighting adds a layer of aesthetics to your workspace. With multiple colors and patterns to choose from, your keyboard can reflect your personal style.
-
Functionality and Versatility: Lighting enhances functionality by making keys easier to find. This is particularly beneficial for gamers and night-time professionals working in poorly lit spaces.
These advantages make backlighting a worthwhile investment for those seeking to elevate their keyboard functionality and style.
Understanding Different Types of Backlighting
Before you embark on illuminating your keyboard, it’s essential to understand the different types of backlighting options you have:
-
RGB Backlighting: It offers a full spectrum of colors, allowing for customizable lighting effects and patterns. RGB is a favorite among gamers and those who love vibrant aesthetics.
-
Single-Color Backlighting: This straightforward option provides a single hue, like white or blue, offering enhanced visibility with a minimalistic style.
-
Zone Backlighting: This allows for specific keyboard areas to be illuminated, ideal for highlighting frequently used keys during gaming or particular tasks.
Each backlighting type offers unique features and visual appeal, tailored to different user preferences and keyboard usage.

Preparation Before Adding Backlighting
Preparation is crucial before you add backlighting to your keyboard to ensure a smooth process. Here’s what you need to do:
-
Check Compatibility: Ensure your keyboard can support backlighting. Some models have built-in lighting that can be activated via software or key combinations.
-
Gather Necessary Tools: You may need tools like a screwdriver, LED lights/strips, or a soldering kit, especially for mechanical keyboards.
-
Research: Look for guides tailored to your keyboard model as some might have specific lighting upgrade limitations or instructions.
Proper preparation will streamline the process and help you avoid potential setbacks.
Methods to Add Lighting to Your Keyboard
Once prepared, consider these methods to add lighting to your keyboard, guided by your model and aesthetic preferences:
Enabling Built-in Backlighting Features
-
Function Keys: Numerous keyboards have built-in backlighting accessible via function keys. Look for lighting symbols on the F-keys. Use Fn + the relevant key to switch lighting on.
-
Software Control: Some keyboards mandate software for altering lighting settings. Download the manufacturer’s utility program for light customization.
Installing Backlighting on Mechanical Keyboards
-
Open the Keyboard: Begin by carefully unscrewing your mechanical keyboard.
-
Install LED Lights: Position LED lights or strips under key switches. You might have to desolder keys to fit the lights. Proceed cautiously.
-
Test and Reassemble: Before reassembling, test the lights to confirm functionality. If successful, put your keyboard back together and enjoy.
Upgrading to a Backlit Keyboard Model
Should the aforementioned methods seem complex, consider investing in a new keyboard complete with built-in backlighting. This guarantees compatibility and may include extra features like programmable keys or sync options for a more cohesive user experience.

Customizing Your Keyboard Lighting
With lighting successfully embedded, further customization allows you to tailor your experience:
Changing Colors and Patterns
-
RGB Settings: Use manufacturer-provided software to modify colors and patterns. This often includes a range of colors and various lighting effects.
-
Preset Modes: Some keyboards come with preset options allowing for easy transitions between effects such as breathing or wave patterns.
Syncing with Other Devices
-
Software Integration: Use software like Razer Synapse or Logitech G Hub to sync keyboard lights with other devices for a unified look.
-
Smart Home Compatibility: Some advanced keyboards can sync with smart home systems for enhanced immersion matching room lighting.
Troubleshooting Common Lighting Issues
As beneficial as it is, keyboard backlighting may occasionally result in issues. Here are some troubleshooting tips to resolve common problems:
Adjusting Brightness
-
Function Keys: To adjust brightness, seek out function keys with markings for this purpose.
-
Software Controls: Use the manufacturer’s software to adjust brightness settings if function keys do not respond.
Fixing Flickering Lights
-
Reconnect Connections: Flickers often signify loose cables or LEDs. Retrace connections for firmness.
-
Software Update: Ensure all firmware and drivers are current to resolve software-induced flickers.
Following these troubleshooting steps should help ensure steady and vibrant keyboard lighting performance.
Conclusion
Integrating light into your keyboard setup not only aids in dim light scenarios but also levels up your aesthetic game. There are numerous ways to achieve this, from leveraging built-in features to installing custom lighting on mechanical keyboards. Once set up, you’ve the liberty to customize the lighting to best fit your style. In case of any hiccups, resort to the troubleshooting tips provided. Experience enhanced style and functionality with a well-illuminated keyboard.
Frequently Asked Questions
Can I add backlighting to any keyboard?
Not all keyboards are designed for backlighting. Ensure your keyboard either supports built-in lighting or can physically accommodate upgrades before proceeding.
How do I fix my keyboard backlight if it stops working?
Check software settings and update drivers. If using LEDs, verify connections and inspect for faulty wiring or components.
Will keyboard backlighting affect battery life?
Backlighting can decrease battery life, especially on wireless keyboards. Adjusting brightness and using power-saving modes can help mitigate significant battery drain.
