
Giving your dining room table a fresh coat of paint is a fantastic way to rejuvenate your space and showcase your creativity. This article will provide a step-by-step guide on how to paint a dining room table, covering everything from preparation and choosing the right materials to applying the perfect finish. Additionally, you’ll find useful tips that will help ensure your project is a success, resulting in a beautifully painted table that stands out.
What Will You Need to Paint a Dining Room Table?
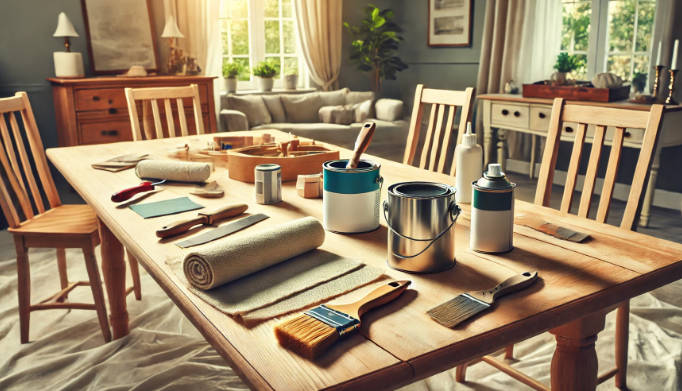
Painting a dining room table offers a great way to breathe new life into your space and personalize your furniture. To ensure your project goes smoothly, here’s a comprehensive list of the materials and tools you’ll need:
Materials
Tools
Step-by-Step Guide to Painting Your Dining Room Table
Revamping your dining room table with a new coat of paint can significantly enhance the look of your dining space. Follow these steps to achieve a professional finish that will make your table the centerpiece of your room.
Step 1: Thoroughly Clean the Table
Ensuring your table is spotless is crucial for a successful paint job. Start by placing a drop cloth beneath your table to catch any dust or paint splatters. Use a detergent-based cleaner with damp rags to wipe away any accumulated grease and grime. For tables with extendable leaves, remove them to clean and sand the edges properly.
Step 2: Sand the Table and Clean Again
Once the table is clean and dry, the next step is sanding, particularly if it has a shiny finish. If the table has been previously painted or finished with a glossy product, a light sanding will help the new paint adhere better. Use medium-grit sandpaper (180-220 grit) to dull the surface and legs. There’s no need to strip off the existing finish completely; just rough it up a bit. After sanding, vacuum away the dust and wipe the table down with a damp cloth or a microfiber towel to ensure it’s free of debris.
Step 3: Apply Primer
For priming, use a fine-finish roller (4-6 inches) for the tabletop and a brush for any intricate details on the legs. Apply an even coat of primer starting from the top and working your way down. Primer is ideal for tables as it creates a tough, durable surface. Allow the primer to dry thoroughly before proceeding to paint.
Step 4: Apply the Paint
Begin by using a roller to evenly coat the tabletop with your chosen interior paint. This will provide a smooth, durable finish that can handle everyday use. For the sides and legs, switch to a paintbrush to ensure an even application, especially in detailed areas.
Step 5: Allow to Dry and Reapply
Refer to the paint can for the recommended drying time between coats. It’s important to wait the full duration to avoid extending the overall curing process. Rushing the second coat can negatively impact the final finish. Once the first coat is completely dry, apply the second coat using the same method.
Step 6: Let the Table Cure
After applying the primer and two coats of paint, give the table ample time to cure. Curing is the period needed before the table is ready for regular use. Wait for the recommended curing time, typically three to five days, before placing items on the table to prevent any potential damage.
How to Achieve a Flawless Finish on a Painted Dining Room Table?
For a sleek, professional finish on your dining room table, follow these strategies to ensure smooth and even results.
1.Keep a misting spray bottle filled with water handy. Lightly misting your paintbrush as you work can help maintain a smooth application and prevent the paint from drying too quickly.
2.Begin each brush stroke in the middle of the surface and move outward. This technique helps to avoid paint buildup and drips along the edges, ensuring a cleaner finish.
3.Once you complete a strip of paint, run your brush from one end to the other without stopping.
4.Overlap each new strip of paint with the previous one while it’s still wet. This practice, known as maintaining a “wet edge,” ensures a seamless transition between strokes and prevents visible lines.
5.After each coat dries, lightly sand the surface against the direction of the brush strokes. This step smooths out any imperfections and prepares the piece for the next layer of paint.
6.For each additional coat of paint, thin the mixture by adding more water. Thinner coats will apply more smoothly and evenly, contributing to a flawless finish.
Useful Tips for Painting a Dining Room Table
Here are some helpful tips to ensure your table turns out beautifully and stands the test of time.
Embrace Patterns
While the limited color palette of oil-based paints might seem restrictive, it actually opens the door for creativity with patterns. Using classic colors like black and white, you can design unique patterns that reflect your personal style, adding a custom touch to your furniture.
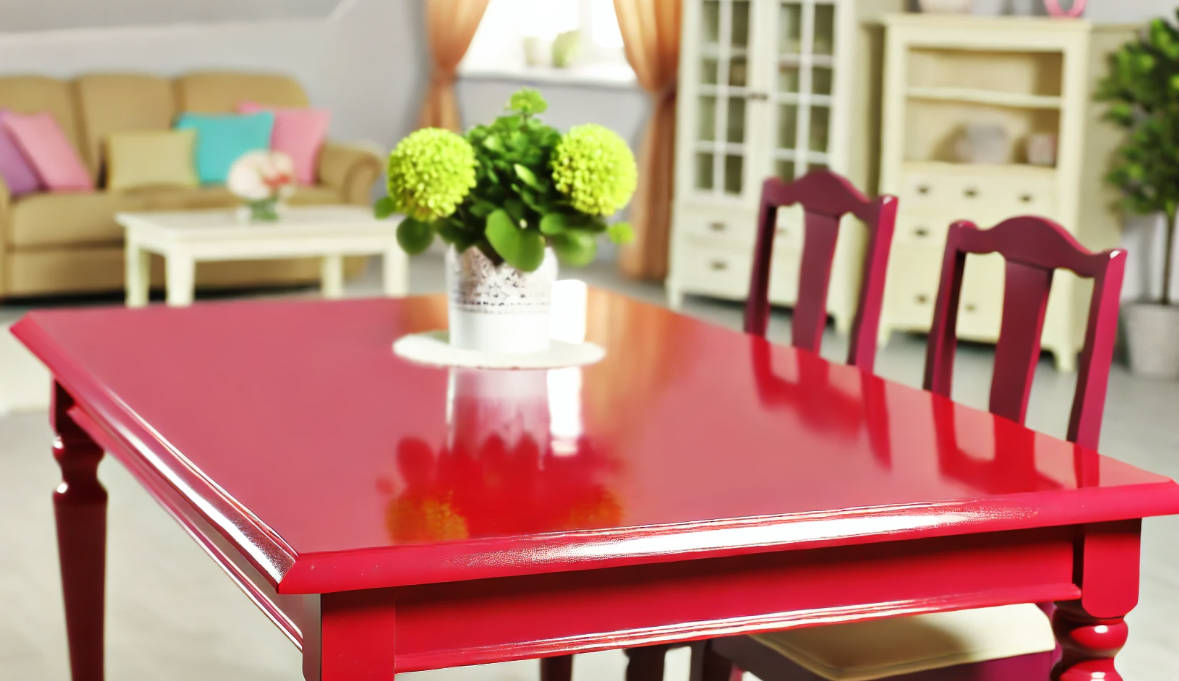
Opt for a Glossy Finish
A glossy finish not only enhances the appearance of your painted furniture but also simplifies cleaning. The table I worked on with a glossy coat looks fantastic and is effortless to clean, making it a practical choice for heavily used items.
Keep Spare Paint Handy
Despite the toughness of oil-based paint, regular use can still lead to minor chips and scratches. Keeping a small can of touch-up paint in a convenient spot, like the laundry room, ensures your furniture maintains its fresh look over time.
Allow Adequate Drying Time
Oil-based paints need ample drying time between coats and a few days to fully cure. Plan your painting projects accordingly, ensuring you have a window of time that allows for proper drying. Rushing this process, especially before a major event, can lead to disappointing results.
Select Oil-Based Paint
Oil-based paint is ideal for furniture that will be frequently wiped down or heavily used. It is more durable than latex paint, which can show wipe marks and scuffs quickly. While the drying process is slower and requires proper ventilation, the end result is a durable, easy-to-clean surface. However, the color options are often limited, as custom mixing is usually not available.
Conclusion
In conclusion, mastering how to paint a dining room table can breathe new life into your furniture. With the step-by-step guide provided, you’ll be able to confidently tackle each stage of the painting process, ensuring a smooth and professional finish. Now that you know the detailed steps, it’s time to gather your materials, set up your workspace, and start your project. Don’t forget to share your experience and finished table with others!
FAQs
What is the best color to paint a dining room?
The best color to paint a dining room often depends on the desired ambiance. Deep gray offers a sophisticated, modern look, while dusty red creates a warm, inviting atmosphere. Both colors can enhance the dining experience, making the space feel cozy and elegant.
Do you have to sand dining room chairs before painting?
Yes, you generally need to sand dining room chairs before painting to ensure the paint adheres properly. Even if you remove the finish chemically, you’ll still want to sand to smooth the surface and remove any residue.